A Sales Order (SO) is the formal agreement between you and your customer. In Sevenledger, it’s the central hub for fulfillment — letting you track inventory commitment, shipments, and billing all in one place.
For stock-moving businesses, think of the Sales Order as the commercial document and the linked Transfer/Shipment as the physical inventory document. That split is important: use the Sales Order to confirm what the customer ordered, then use the transfer flow to actually move goods out of inventory.
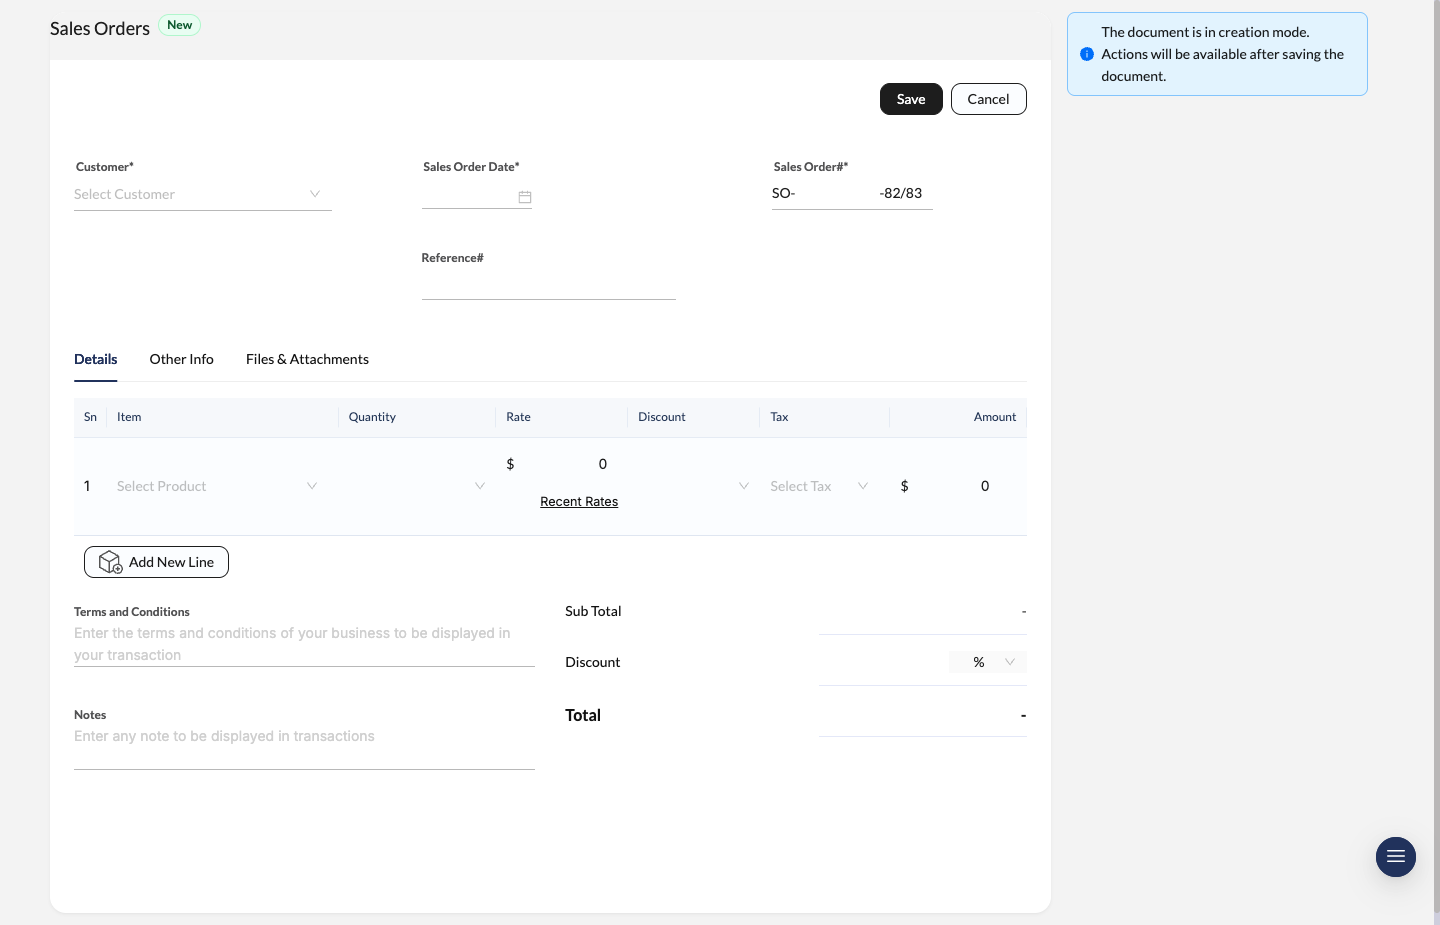
Sales Order creation screen with customer details, item lines, and the save actions in the top toolbar.
Create a New Sales Order
Initialize the order
Navigate to Sales Orders and click New.
Select customer and dates
Choose a Customer from the dropdown — billing and shipping addresses auto-populate instantly. Set the Sales Order Date.
Add line items
Select the products being ordered. For each item, specify the Primary Warehouse so stock is deducted from the right location.
Save the record
Review the totals and click Save.
Field Definitions
Quick reference for filling out your sales data accurately:
| Field | Description |
|---|---|
| Customer | The contact or company purchasing the goods. |
| Sales Order Date | The date the order was officially placed. |
| Sales Order# | A unique ID (e.g., SO-320-82/83) generated based on your fiscal settings. |
| Reference# | Optional — drop in the customer’s PO number or external tracking ID. |
| Warehouse | The specific inventory location where stock is allocated. |
| Rate | Per-unit price. Click Recent Rates to see historical pricing for this customer. |
Managing Orders and Related Documents
Once saved, Sevenledger uses a Documents Sidebar to link all related stages of the sale — keeping everything connected and navigable.
Track Order Status
Monitor progress through the status bar at the top right:
- Draft: Still being edited — inventory isn’t committed yet.
- Confirmed: Locked in and awaiting fulfillment.
- In Progress: Partially shipped or invoiced.
- Completed: All goods delivered and balance paid.
- Void: Order has been cancelled.
Use the Document Sidebar
The sidebar on the right is your navigation hub for the entire fulfillment flow:
- Shipments: View linked delivery transfers (e.g.,
WH/OUT-205-82/83) and their fulfillment status. - Invoices: Access all invoices generated from this order. Click any invoice number to open and edit it directly.
- Payments: Track total paid vs. outstanding balance. Click Pay all to record a full payment for all linked invoices in one click.
Pro Tip: Click any document ID in the sidebar to jump directly to it. This navigation style lets you move between shipping and billing without losing your place in the Sales Order.
Use Transfers for Delivery and Returns
If you’re coming from tools like Odoo, the behavior is very similar: the Sales Order is not the final stock movement record. Use the linked Create Shipment action to generate a warehouse transfer, then manage picking, dispatch, delivery, and any return quantities from that transfer.
When goods come back from the customer, don’t adjust the original Sales Order to “undo” the shipment. Open the related transfer and use Create Return to create a return transfer with the exact items and quantities being sent back.
If you also need to refund the customer or keep the amount as credit, create a Credit Note. In short:
- Transfer / Return Transfer: physical stock movement
- Credit Note: financial refund or credit balance
Record Payments
If the order is “In Progress,” the sidebar displays the remaining balance in red (e.g., Rs 20,982.00 to Pay). Record partial payments by opening the specific invoice, or hit Pay all in the sidebar to close out the entire order at once.
Approval Workflow
If your organization has an active approval policy for Sales Orders, the document will require approval after it is saved.
- Use Request Approval to submit the order into the approval flow.
- The document shows Awaiting Approval while the request is pending.
- Approvers can review the step and choose Approve or Reject.
- If rejected, update the order as needed and Re-submit it.
Approval policies are managed in Approval Policies.